How to Engrave Wood: 5 Tips for Success
Wood engraving has become increasingly popular as more people seek to add a personal touch to their creative projects. Whether you are a professional woodworker or a hobbyist, having the right tools, tips, and knowledge is essential for achieving outstanding results.
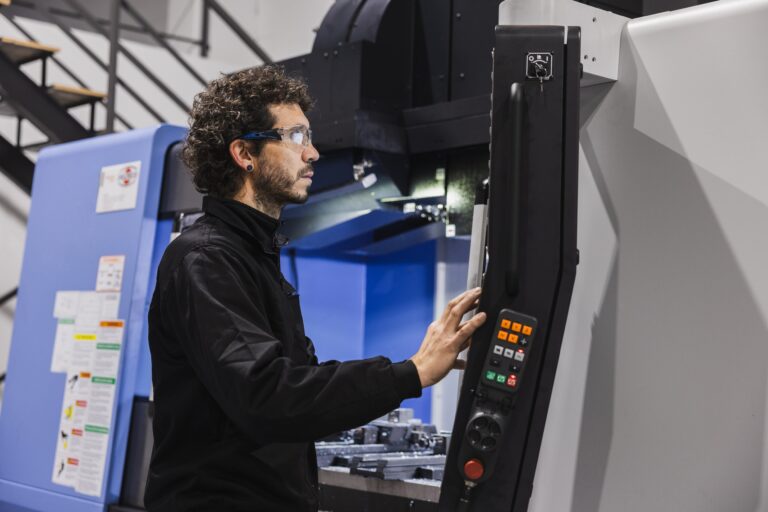
Introduction to Wood Engraving Machines
Wood engraving machines have revolutionized our wood working design, precision, and speed through the use of advanced lasers. These machines can engrave detailed artwork, text, logos, and even photographs onto various types of wood. The precision and speed offered by wood engraving machines make them an indispensable tool for artists, craftsmen, and entrepreneurs in the woodworking industry.
Types of Wood Engraving Machines
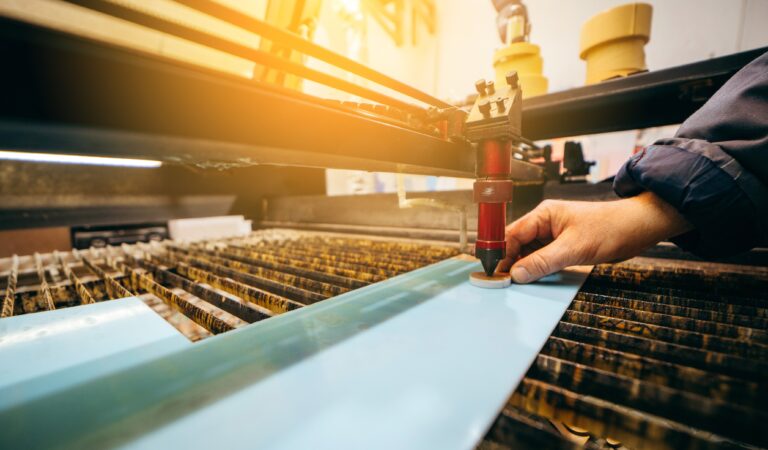
CO2 Laser Engravers
CO2 laser engraving machines are widely used for wood engraving due to their versatility and precision. These machines utilize a high-powered CO2 laser beam that vaporizes the wood’s surface to create precise and detailed engravings. CO2 laser engravers are suitable for hobbyists and professionals, offering a wide range of power options to accommodate various wood thicknesses and engraving depths.
Fiber Laser Engravers
Fiber laser engraving machines excel at engraving on metal surfaces but can also be used for wood engraving. These machines utilize a fiber laser beam that delivers high energy density, producing clean and crisp engravings. While fiber laser engravers may not offer the same depth as CO2 lasers on wood, they are perfect for achieving precise, high-contrast markings on wooden materials.
Choosing the Right Wood Engraving Machine
Selecting the right wood engraving machine is crucial to achieving the desired results. Consider the following factors when choosing a machine that suits your needs:
- Intended Use: Determine whether you primarily engrave small or large pieces, intricate designs, or simple text.
- Budget and Size Requirements: Consider your budget and the available space in your workshop for the machine.
- Laser Power and Speed: Evaluate the power and speed capabilities of the machine to ensure it can handle your desired engraving tasks.
- Ease of Use: Look for machines with user-friendly interfaces and intuitive software to simplify the engraving process.
1. Prepare Your Wood for Engraving
Before you begin engraving, properly preparing your wood for the process is essential. Follow these steps to ensure optimal results:
Selecting the Right Wood
Choose a wood suitable for engraving. Woods with a consistent grain pattern, such as maple or cherry, are ideal for achieving clean and precise engravings. Avoid using woods with irregular grain patterns or excessive knots, as they may interfere with the engraving process.
Surface Preparation
Prepare the wood’s surface by sanding it to a smooth finish. Start with a coarse-grit sandpaper and gradually move to finer grits to achieve a polished surface. Remove any dust or debris from the wood to ensure a clean engraving.
2. Understanding Engraving Techniques
To achieve the desired results, it’s important to understand the different engraving techniques available.
Vector Engraving
Vector engraving involves creating precise lines or shapes by following a path defined by mathematical equations. This technique is commonly used to engrave text, logos, or intricate designs requiring crisp and clean lines. Vector engraving is ideal for creating outlines or shallow engravings on wood.
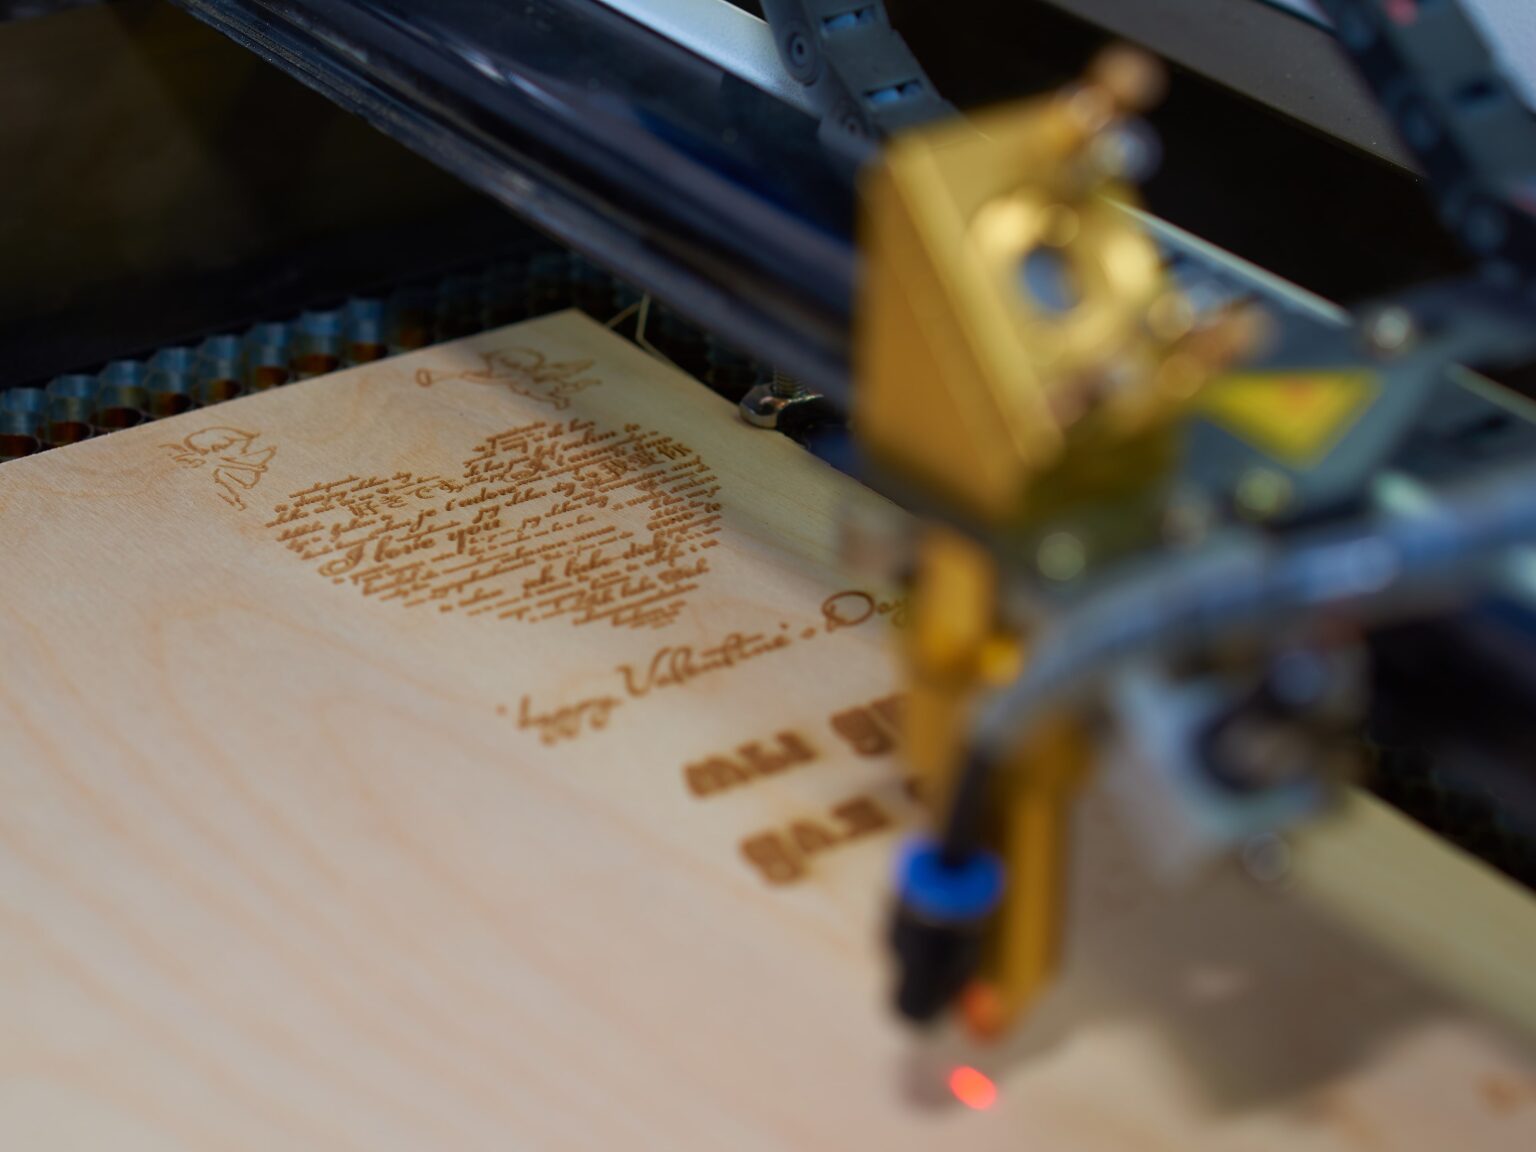
Raster Engraving
Raster engraving involves engraving an image or design by moving the laser head back and forth across the wood’s surface. This technique uses varying laser power and speed to create different shades and depths on the wood. Raster engraving is perfect for creating detailed and photorealistic engravings on wood.
Varying Depth and Speed
Experiment with different engraving depths and speeds to achieve the desired effect on your wood. Shallower engravings create a lighter contrast, while deeper engravings produce a darker and more pronounced effect. Adjust the engraving speed to control the intricacy and detail of the design.
3. Design and Import Artwork
Before engraving, you must create or import the artwork or design you want to engrave onto the wood. Follow these steps to ensure a successful engraving process:
Creating or Importing Designs
First, choose design software that is compatible with your wood engraving machine. Popular options include Adobe Illustrator, CorelDRAW, or software provided by the machine manufacturer. These resources allow you to create or import vector or raster images for engraving.

Optimizing for Engraving
Be sure to optimize the design for wood engraving by converting it to grayscale or black and white, as wood engraving machines typically work with these color schemes. Adjust as necessary to ensure optimal engraving results.
4. Know How to Set Up and Operate the Machine
To achieve the best engraving results, setting up and operating the wood engraving machine correctly is essential. Follow these guidelines:
Machine Calibration
Calibrate the machine to ensure precise positioning and alignment. Use the machine’s calibration features or follow the manufacturer’s instructions to align the laser head and work surface accurately. Proper calibration will ensure the engraving is placed precisely where you want it on the wood.
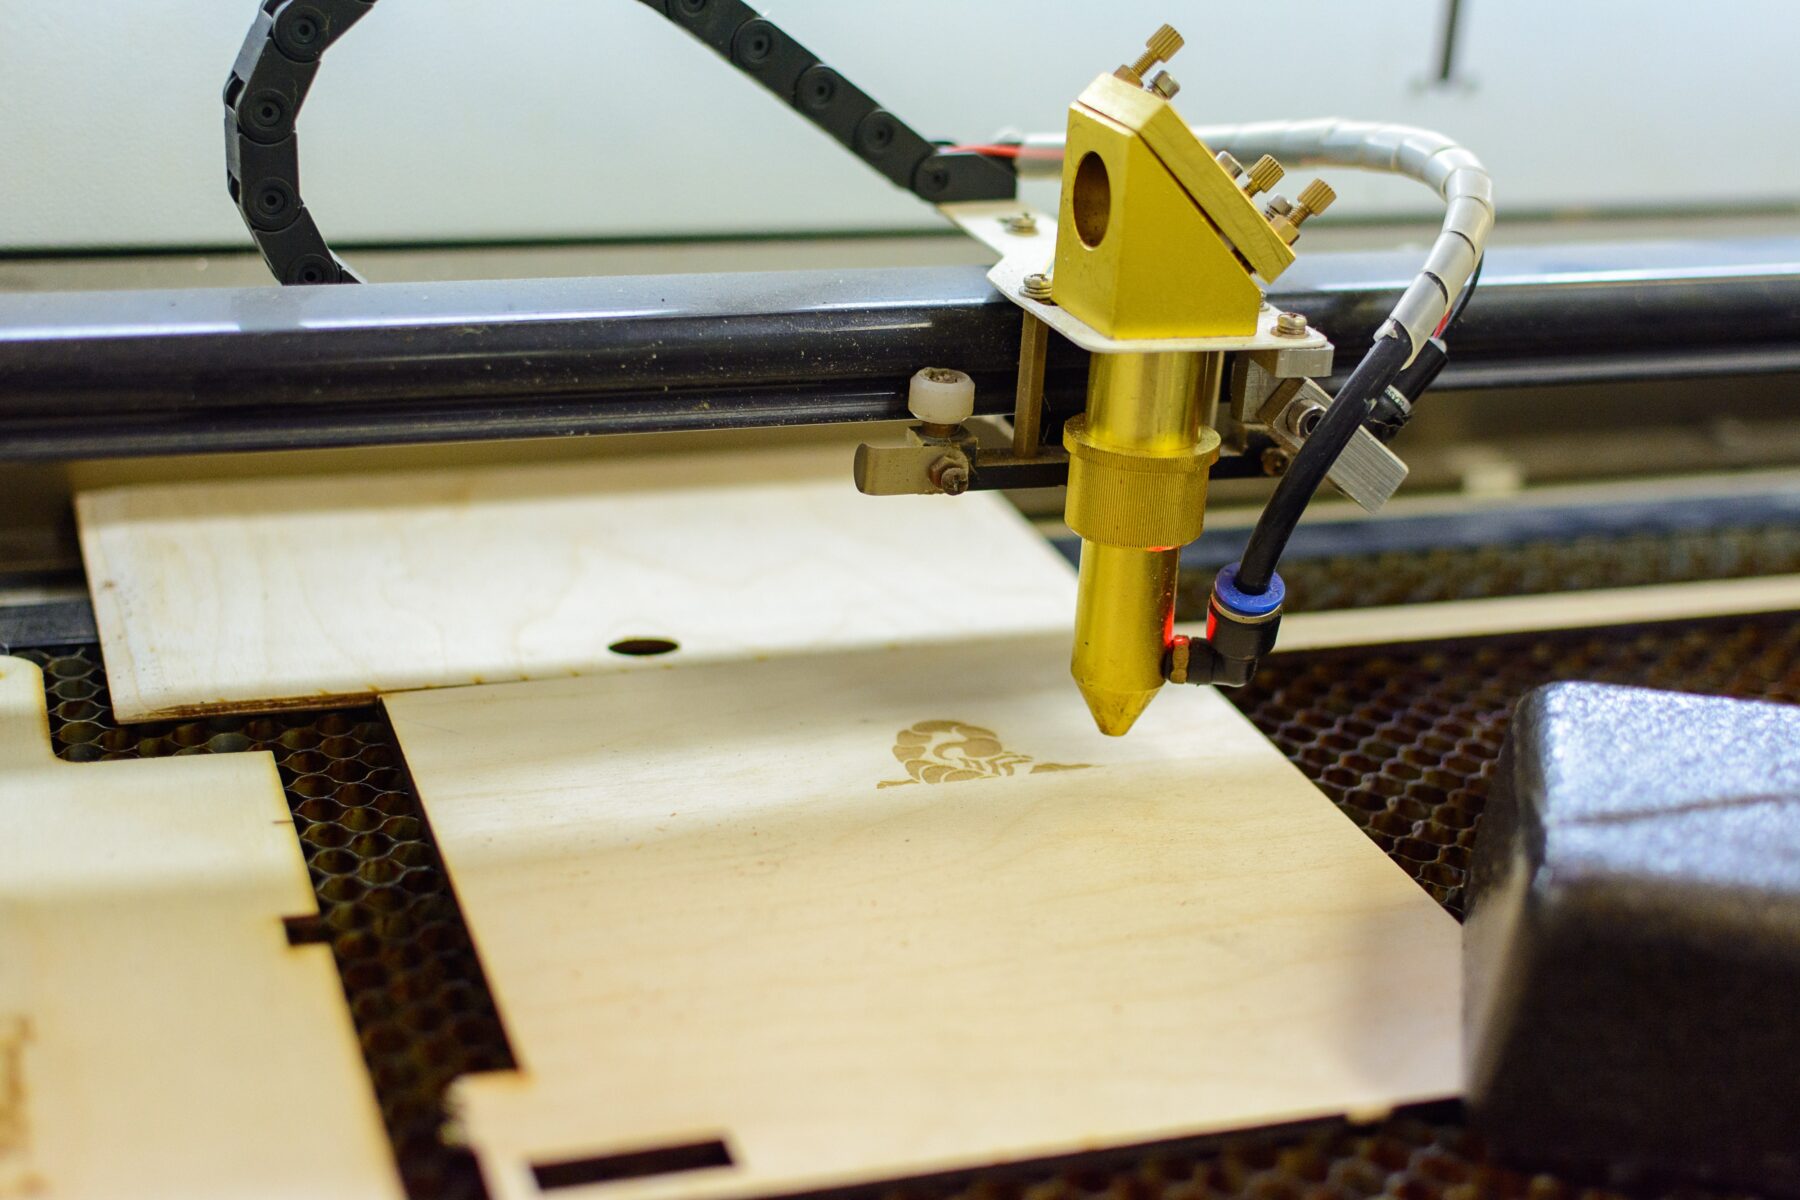
Focusing the Laser
Properly focus the laser beam to achieve optimal engraving results. Adjust the focus using the machine’s built-in focus mechanism or following the manufacturer’s instructions. A well-focused laser beam will create sharp, detailed engravings on the wood’s surface.
Testing on Scrap Wood
Before engraving the final piece, always test the settings and design on scrap wood. This allows you to fine-tune the power, speed, and focus settings without wasting precious materials. Use the scrap wood to experiment with different techniques and designs to ensure the best results.
5. Seal Your Engravings
After completing the engraving process, it’s important to finish and seal your engravings to protect them and enhance their appearance. Follow these steps:
Sanding and Smoothing
Sand the engraved surface lightly using fine-grit sandpaper to remove any rough edges or residue. Start with a higher grit and gradually move to a finer grit for a smooth and polished finish. Remove any dust or debris from the surface before proceeding.
Applying Sealant or Finish
Apply a suitable sealant or finish to protect the engraved wood and enhance its appearance. Choose a finish compatible with the wood type and follow the manufacturer’s instructions for best results. Allow the finish to dry completely before handling or displaying the engraved wood. If desired, you can also apply a wood stain to enhance the contrast between the engraved and non-engraved areas.
Contact Us for Wood Engraving Advice
While engraving wood can take some practice, these five tips will help you achieve stunning results! At Boss Laser, we are dedicated to providing state-of-the-art laser technology backed by unmatched quality and customer service. From hobbyists to major corporations, we partner with clients of all levels to ensure their engraving success. Whether you’re just starting with wood engraving or looking to take your skills to the next level, our team of laser experts can guide you through the process using world-class laser systems engineered for precision and reliability. Contact us today to experience the Boss Laser difference.
Share